Cross-country season is upon us and experienced timers always find ways to improve their operations. Here are some tips that may save a few clicks or speed up the results generation process. Are there any other tips worth sharing?
Line Labels
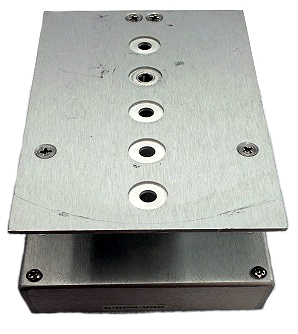
When using the combination of an EtherLynx camera, an IdentiLynx camera and a LapTime device, try activating Line Labels to help with the verification of results. This can make it easier to quickly scroll through the image and confirm all chips have been received and that the order is correct.
Find detailed instructions in our Online Manual,Overlay Section.

FillInTime – Advanced Settings
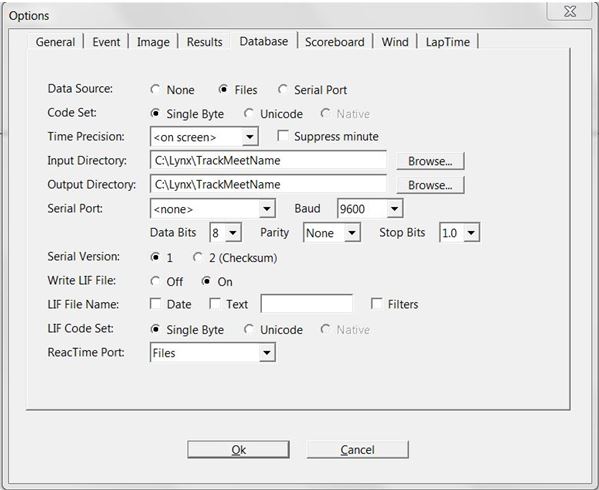
By default, the Time field will only populate when the photo-finish image is evaluated, if using a camera and a LapTime device. It is possible to configure FinishLynx so that the cumulative time from a LapTime device is used to populate the Time field when the number of laps changes from 1 to 0 by changing FillInTime to Always (instead of only when Hardware is set to None).
To set the FillInTime to Always:
- Hold CTRL+SHIFT and click File | Options,
- Expand LapTime.
- Select FillInTime.
- Set the value to 2.
TotalLaps – Advanced Settings
When using a LapTime device, it is important to set the number of laps in the Event window before any LapTime data is received, especially if the FillinTime feature is being used. By default, the total number of laps is set to 0, but this can be modified so that a new event is created with a specific number of laps to go.
To set the default value for Laps to go:
- Hold CTRL+SHIFT and click File | Options,
- Expand LapTime.
- Select TotalLaps.
- Enter the number of laps for the next race.
*For races where the LapTime device is used for the finish only, set the value to 1.
TrackSelection – Advanced Settings
FinishLynx will track the selected result line in the Result Zone whenever it moves in the list. This is convenient when evaluating the finish, since the most recently evaluated result is selected and easy to find.
However, if you scroll the Results Zone data to the end to see if all athletes have crossed the latest split point during a multi-split race, it will always jump back to show the currently selected line whenever new data is received.
To avoid this, turn off the TrackSelection feature:
- Hold CtrlShift and click File | Options,
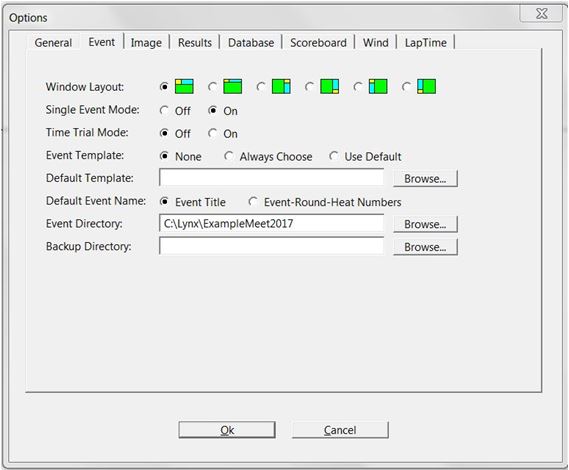
- Expand Event.
- Expand Results.
- Select TrackSelection.
- Set the value to 0.
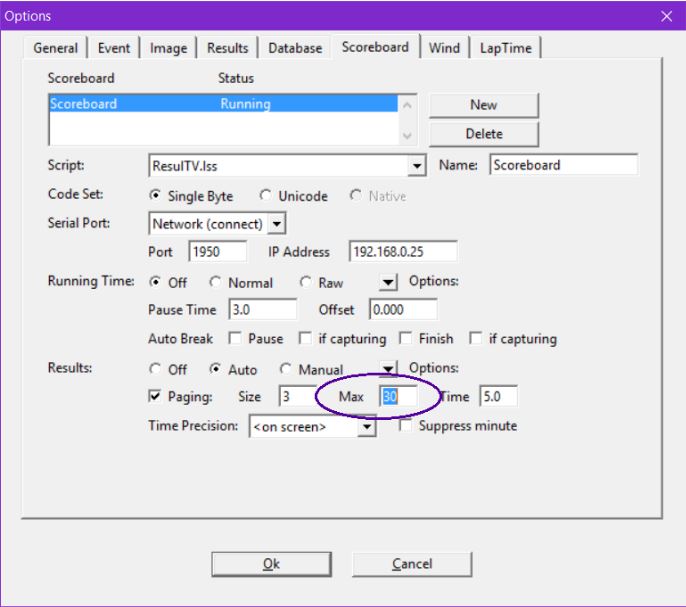
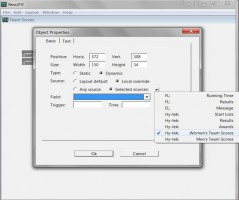
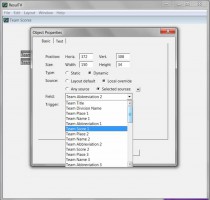
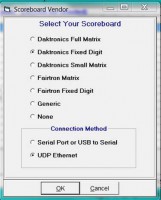
Max results on scoreboard
Do you want your scoreboard or LED display to only scroll through the top 30 places for a race, instead of all 300 participants? You can easily set a max value of results to page through in the Scoreboard Options.
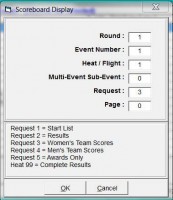
To limit the paging to a maximum number of finishers:
- Click Scoreboard | Options,
- Select the correct scoreboard object.
- Enter the desired value for Max (Results: section).
IdentiLynx Buffer
Refer to this previous blog post to learn how to increase the IdentiLynx buffer to avoid dropped frames. Note that the next version of FinishLynx will set the default value for CacheSize to 100MB.
Map Files
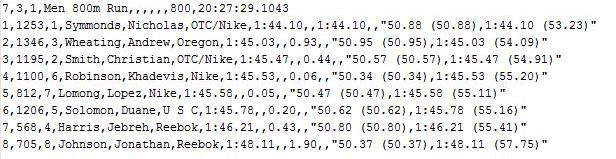
When the transponder ID does not match the results key (ie. the bib number), a map file is required to link the transponders to athletes. A map file is a simple text file that includes each athlete’s bib number and transponder ID, separated by a comma. A sample map file called LapTimeMap.txt is also saved to C:\Lynx folder when FinishLynx is installed.
There are multiple ways to create a map file. It can be done by hand in Notepad or Excel. It can also be done by scanning transponders in order and using the corresponding *.lif as demonstrated in this video tutorial (this video is specific to IPICO, but the same principle can apply to all systems). Different third-party systems may also have their own way to create it.
Tip: Consider getting a short range antenna compatible with your laptime system, such as the IPICO Registration Reader or Impinj Mini-Guardrail Indoor Antenna, to simplify this process. For UHF systems, it may be worth investing in a printer to encode the tags yourself and avoid using a map file all together.
Add the FinishLynx XC Triad
Combine the power of FinishLynx photo-finish, RFID chips, and IdentiLynx video for a complete Cross Country meet timing system. Learn more about the XC Timing Triad here.


