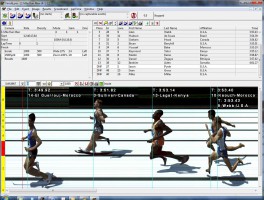
FinishLynx Version 8.2
[wpfilebase tag=file id=100 /]
Key New Features
Scroll wheel.

You can now use the mouse scroll wheel to scroll scrollable elements in FinishLynx (lists and the image windows). For simple lists, scrolling the mouse wheel will move the list up or down. In the image window, it will move the image backwards or forwards (left and right).
The image scrolling works with both EtherLynx images, and IdentiLynx video frames.
Aspect ratio control.
Note: All the changes in the presentation of the image of this feature are reversable, and do not affect the timing precision of the original image
This image toolbar control (a simple edit box) is off by default; you’ll have to enable it in the Options Dialog.
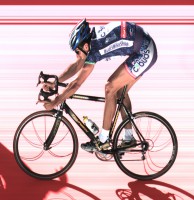
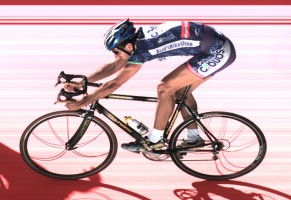
The primary way that you specify the aspect ratio is to indicate what the “effective” frame rate should be. By default, the current frame rate is displayed in this box to indicate no aspect ratio change. Entering a different frame rate (type the number and hit Enter) will cause the image aspect ratio to change. The change actually takes place in the vertical dimension, so that you still see all of your frames at 100% zoom, but the aspect ratio will be as if you had captured at the entered frame rate.
An alternate way to specify the aspect ratio is to simply specify how much to zoom in the vertical dimension. You do this by appending a “%” to the number. So entering “200%” will make everything twice as tall.
You can also alter the horizontal dimension instead of the vertical. Entering a number with “h” (lower case) appended creates that effective frame rate by adjusting horizontally instead of vertically. Entering a number with “H” (upper case) appended means to zoom horizontally by that percentage.
Scoreboard Auto Break enhancement.
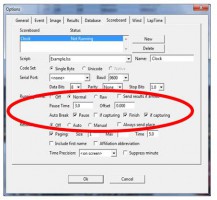
The “Auto Break” feature for stopping or pausing the Scoreboard running time Auto Break has been enhanced to allow one action (Finish, say) to happen when capturing, and the other action (Pause, say) to happen when not capturing.
These features are controlled from the Scoreboard Options dialog:
New Lynx Wind Gauge
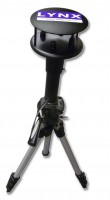
There is support for the Lynx wind gauge. This unit reads both wind vectors (N-S and E-W). FinishLynx stores both vectors and calculates the wind direction. The direction is displayed after the wind unit.
How (and if) the direction is displayed is controlled by the hidden setting:
\WindGauge\DirectionMode.
This wind gauge is listed as “Lynx” in the Options Dialog.
RadioLynx Id now used in Time Trial Mode.
The RadioLynx ID (bib number) field sent by newer EncRadios is now used to fill in the start’s ID field when in Time Trial mode.
Line Labels improved.
There are now two hidden settings that control where the label text is displayed in relation to the line:
\Event\Image\Overlay\Lines\TextSide
\Event\Image\Overlay\Lines\TextJustify
TextSide controls which side of the line the text goes on (default is after the line). Options are Left, Right, After, and Before. Values are in the comments.
TextJustify controls how the text is justified (default is justify to the line). Options are Left, Right, Line, and Not Line. Values are in the comments.
